
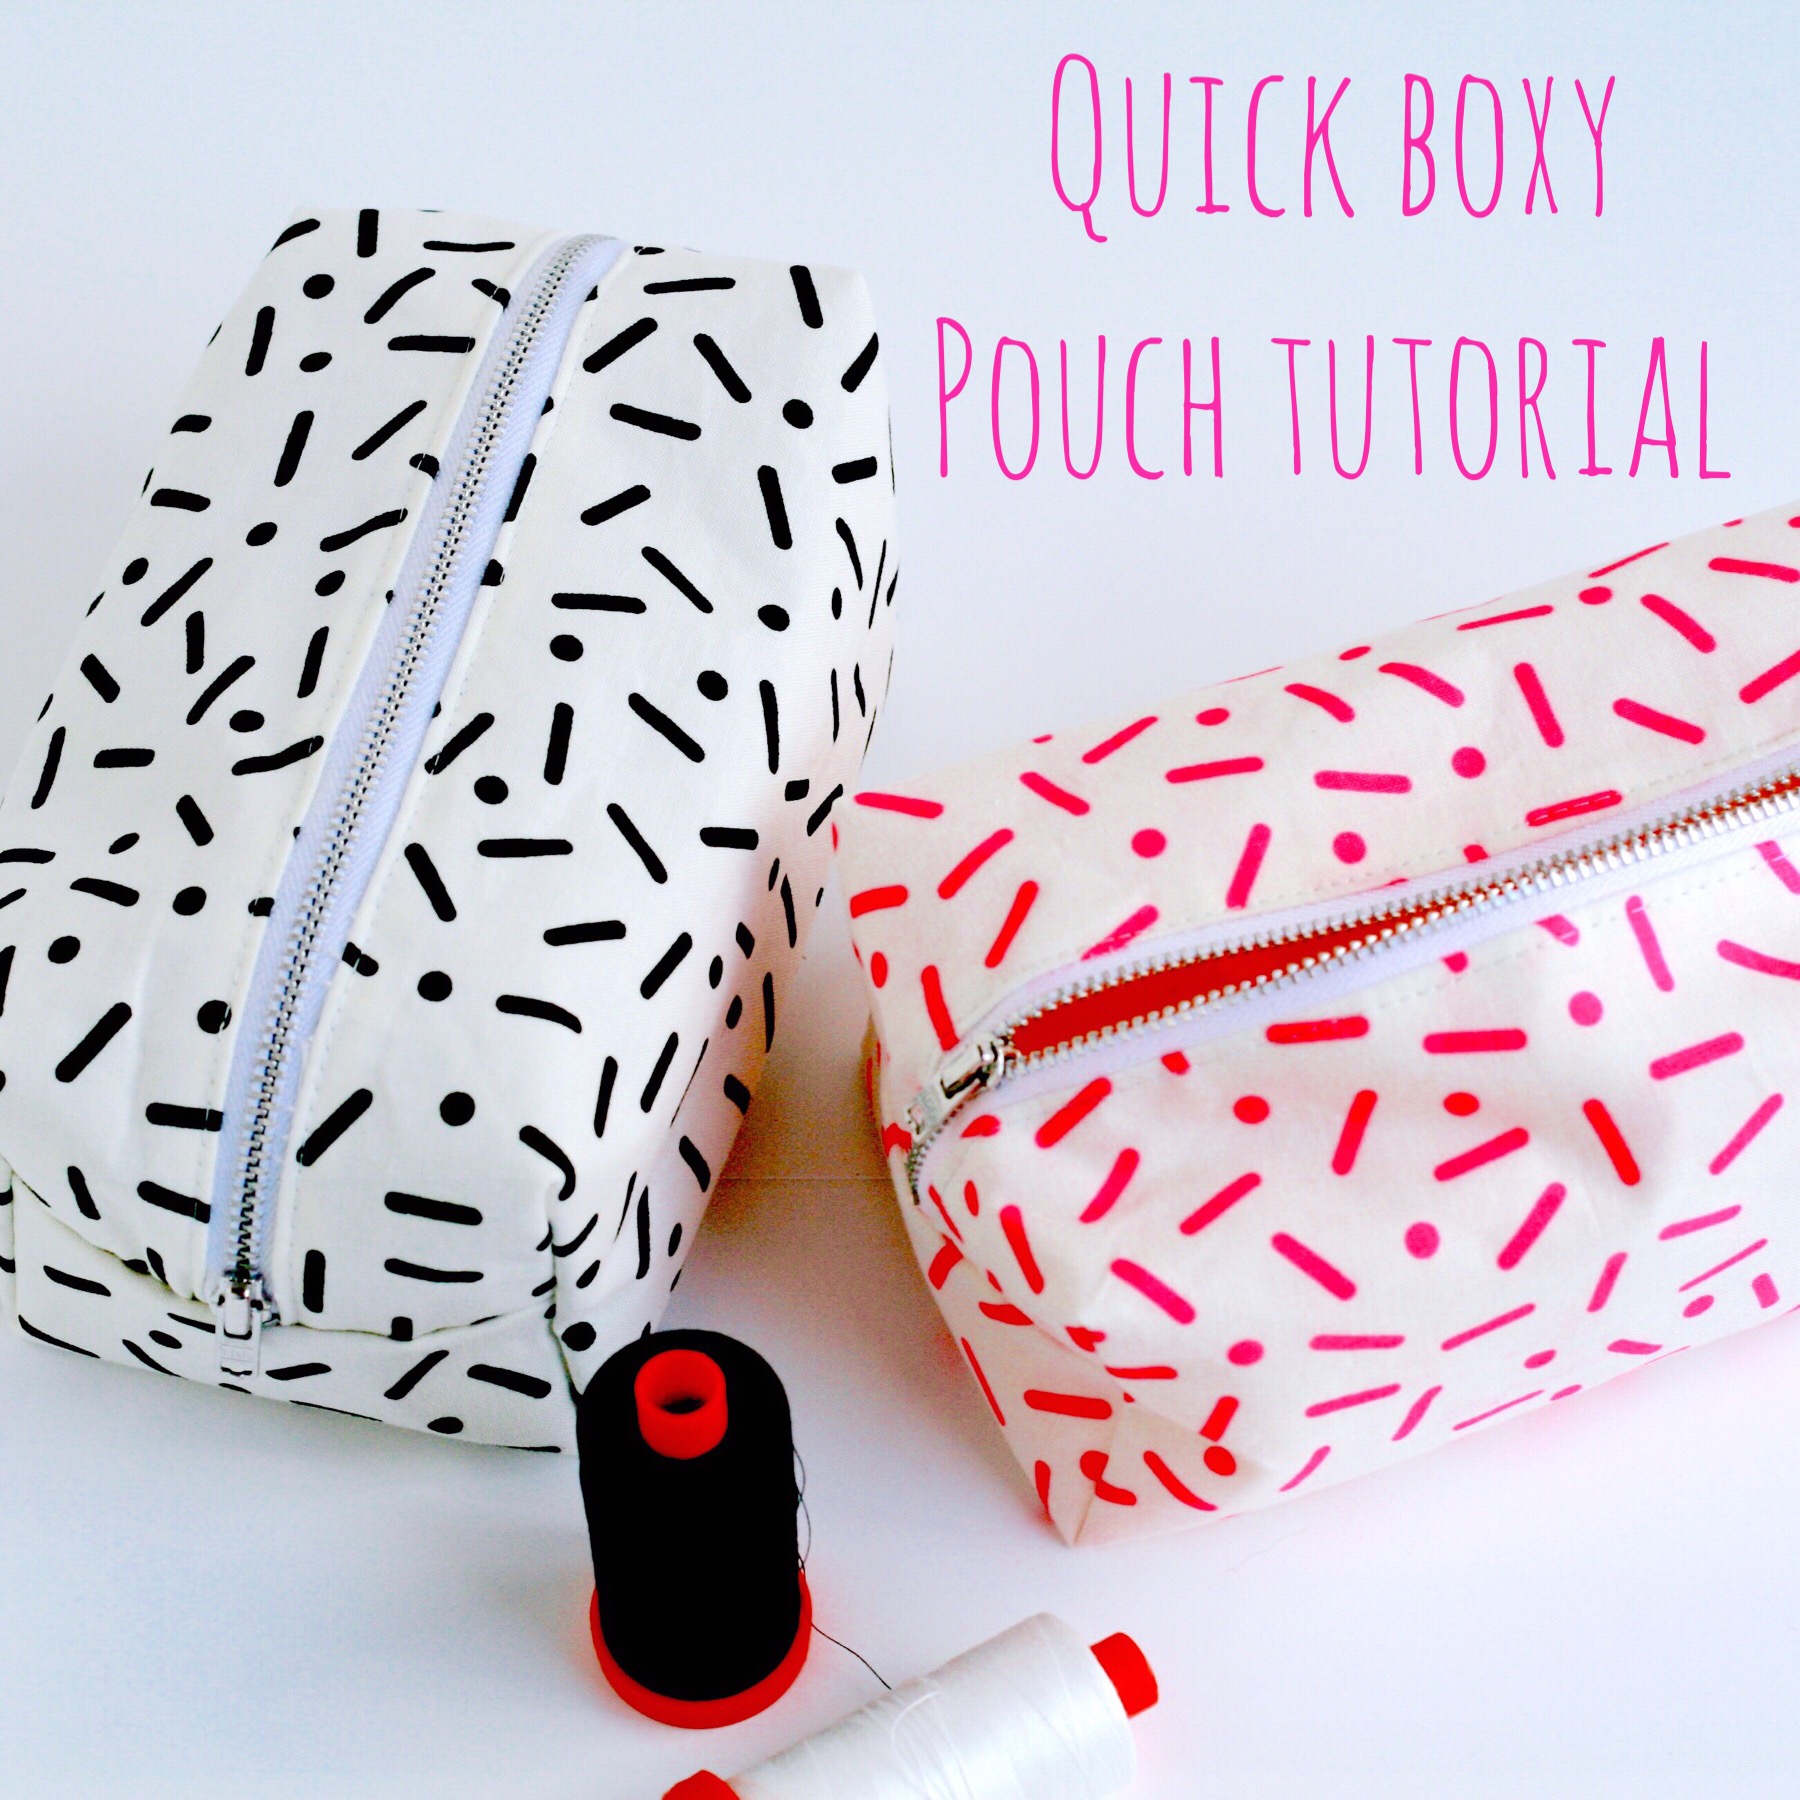
I love making quick and cute pouches. They are useful and make great gifts, especially if filled with little bath/chocolate gifts!
So today I’m going to talk you through how to make this quick boxy version!
Materials needed:
1 Fat Quarter of main print
1 Fat Quarter lining print
1 Fat Quarter of medium iron on interfacing (I use Vilene H250) or Vilene G700 which is a more expensive woven version.)
9” zip
Cutting:
Cut one rectangle 10 ½” wide x 13 ½” long
x 1 for main fabric
x 1 lining fabric
(If using directional print: Instead cut (2 x) 10 ½” x 7” and join, RST along the bottom 10 ½”edge, using a ¼” seam allowance. This will create one panel that is 10 ½” x 13 ½” where the direction of the print comes away from the seam line on both sides. Press seams open.)
x 1 interfacing (and interface onto main fabric)
3” x 5” (x 2) from main fabric for the tabs
Assembly:
- First make your tabs by folding the two long edges into the middle and then folding in half again. Top stitch in place to close.


- Attach your zip.
Lay the zip facing up with pull at the left. Lay your main fabric on the top of the zip and your lining fabric under the zip. Make sure they all line up (using a touch of glue or binding clips to hold in place is a good idea at this point.) Sew zip in place, place the fabrics so they are back to wrong sides together, press and top stitch.


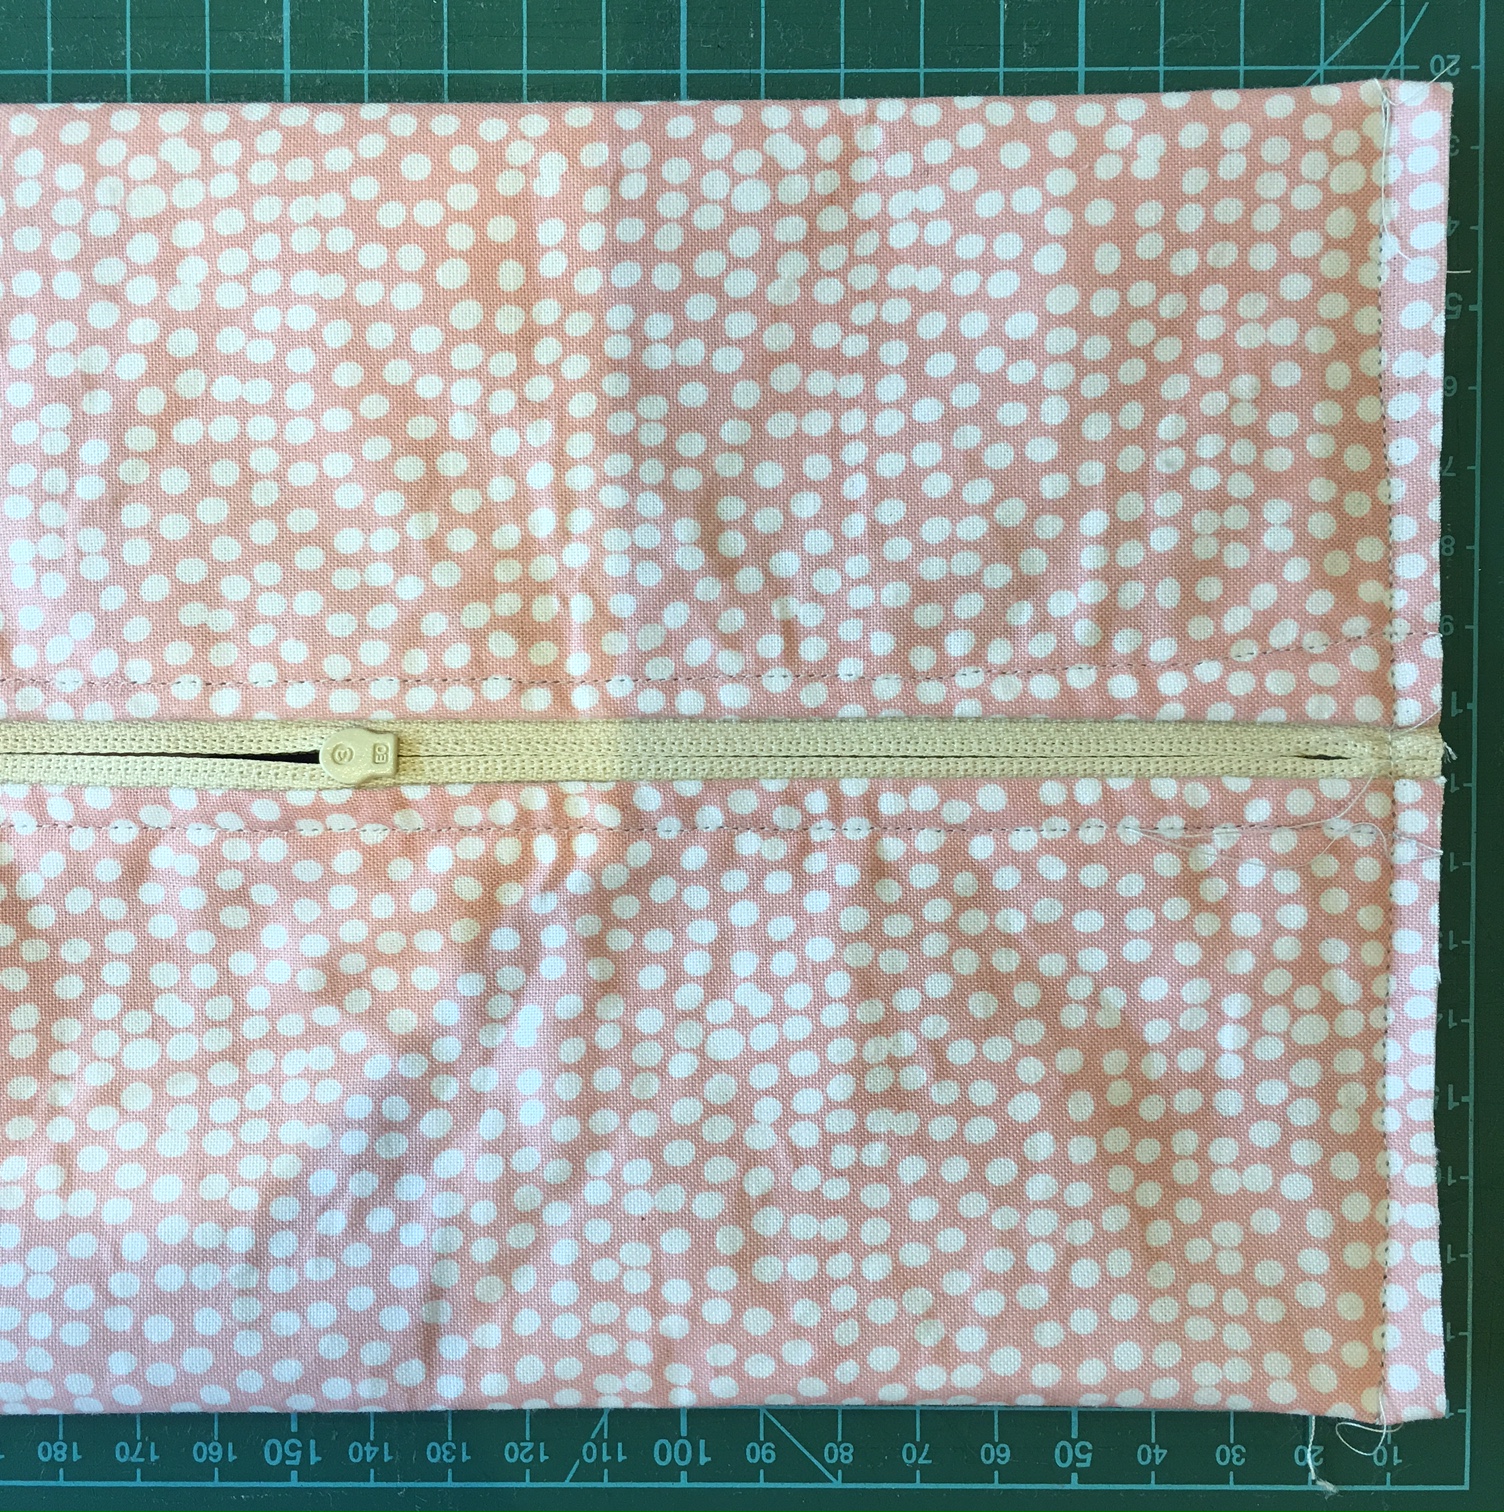
- Then do the same for the other side of the zip, main on top of zip, lining under. The lining and main fabrics will fold in half to do this.
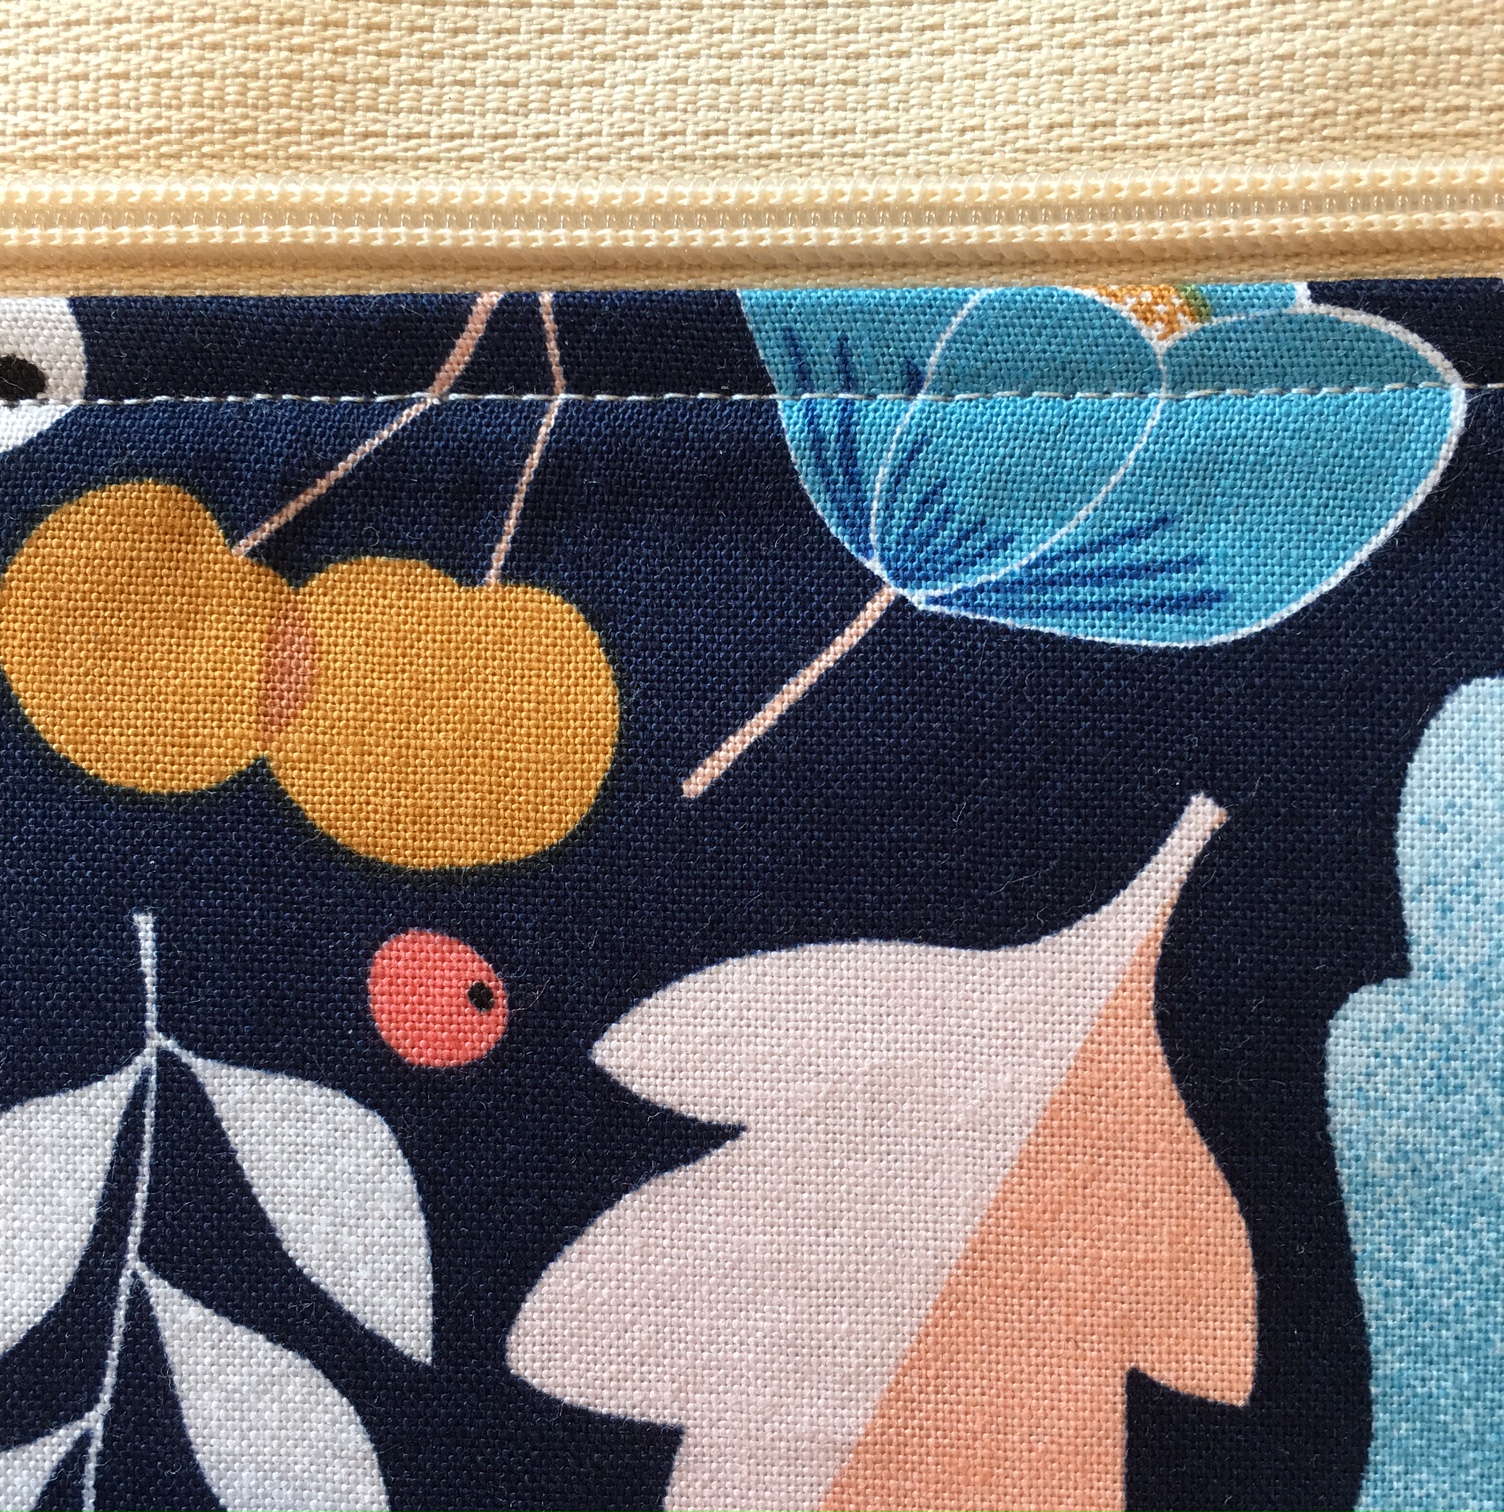
Again, when finished press and top stitch. This will get difficult towards the end as you are sewing a tube. Take your time and be careful not to catch any other part of the pouch in your top stitch.
- You now have a tube. Turn it wrong side out and lay it flat so that the zip runs through the middle. Sew a seam, approx. ½” down each of the raw edges, trim to ¼” and zig zag over the seam. (I like to do quite a tight zig zag so that the seam looks neat, also try to use a thread that blends well with your lining.
5. To box the pouch, cut a square 1 ¼” from each edge/seam line.
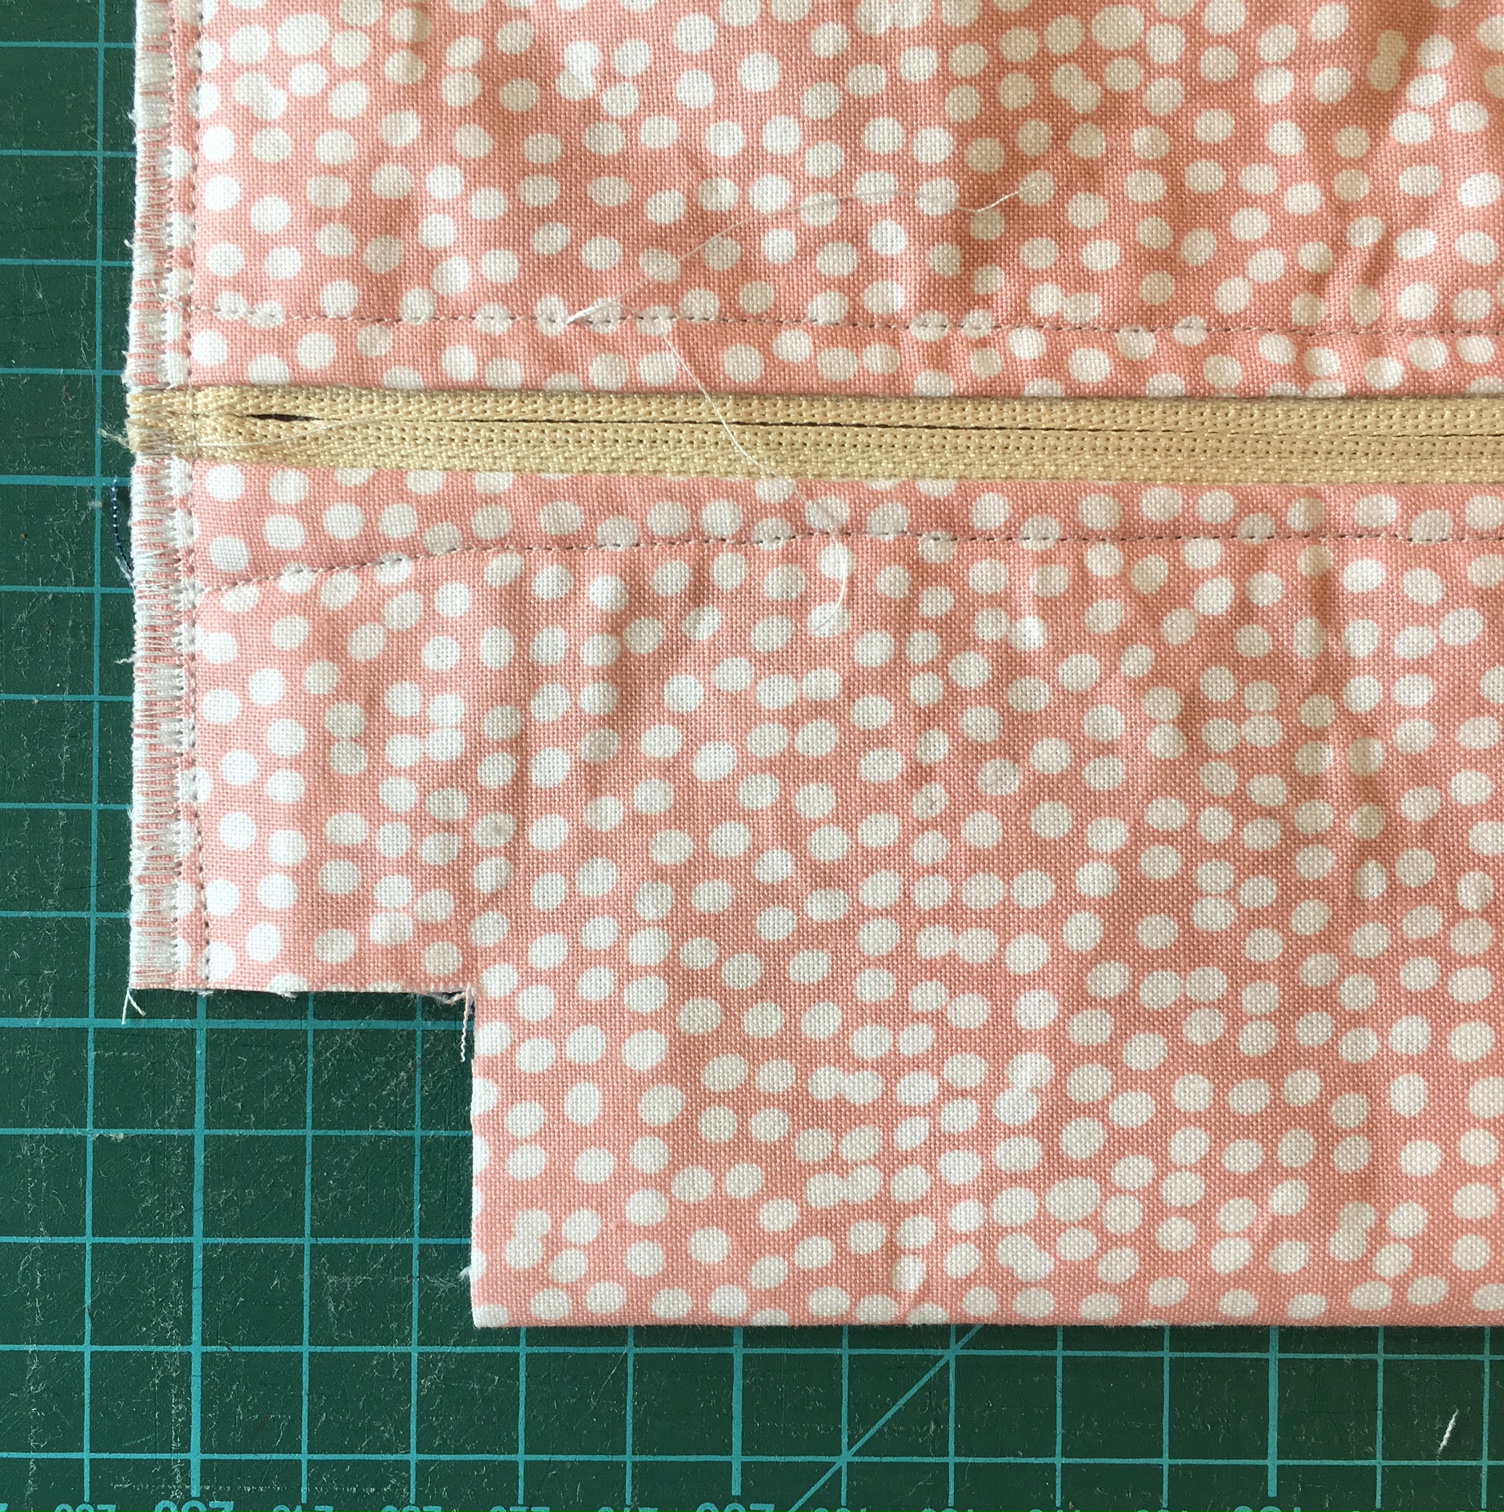
Bring the cut seams together, So that the side edge lines up the end sewn seam. Pin or clip in place.
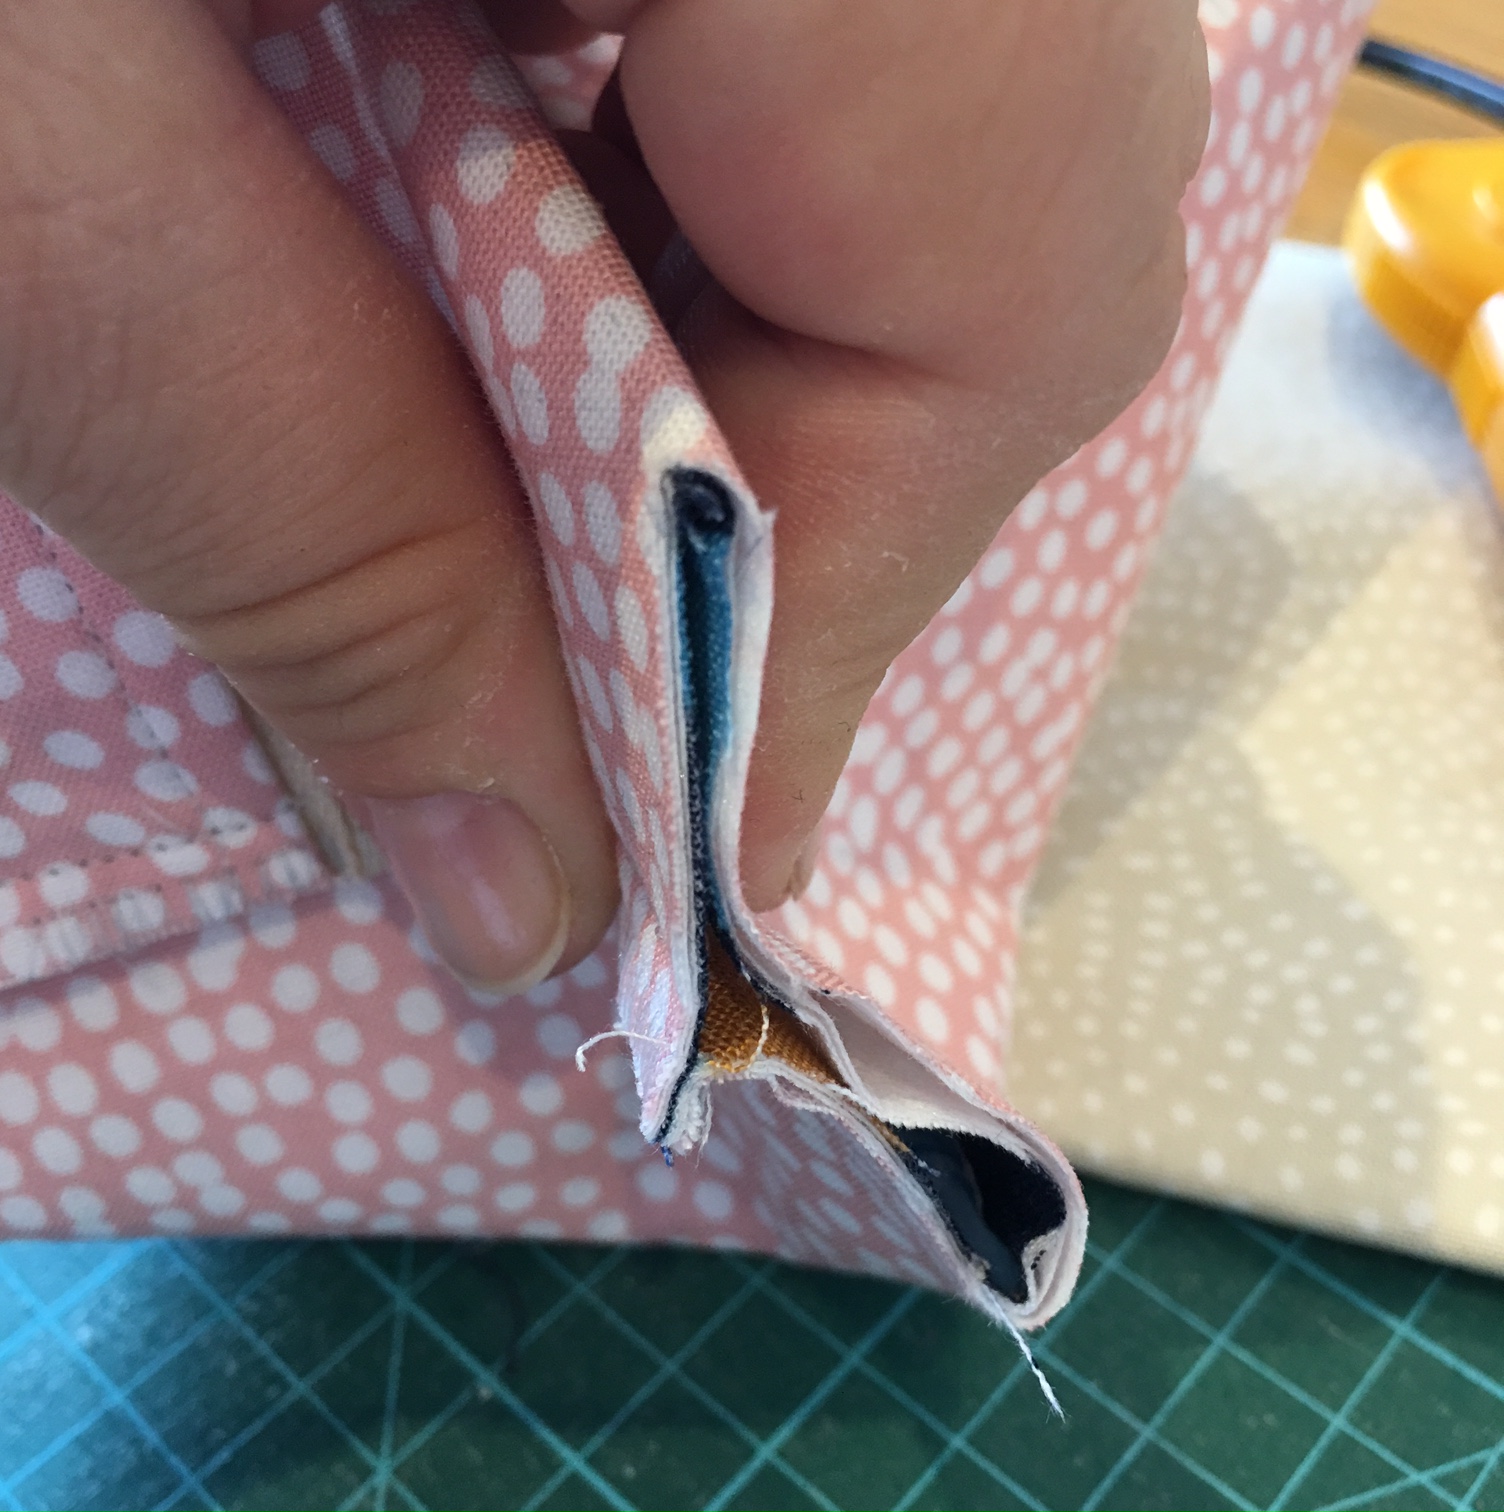
Take one tab, centre in the seam you are about to sew and line up with raw edges, with the majority of the tab inside the pouch and sew with a ¼” seam allowance. Use the other end of the tab at the next corner (make sure it doesn’t get twisted and the tabs loop over each end of the pouch.)
When you have completed each corner, zig zag over each seam.
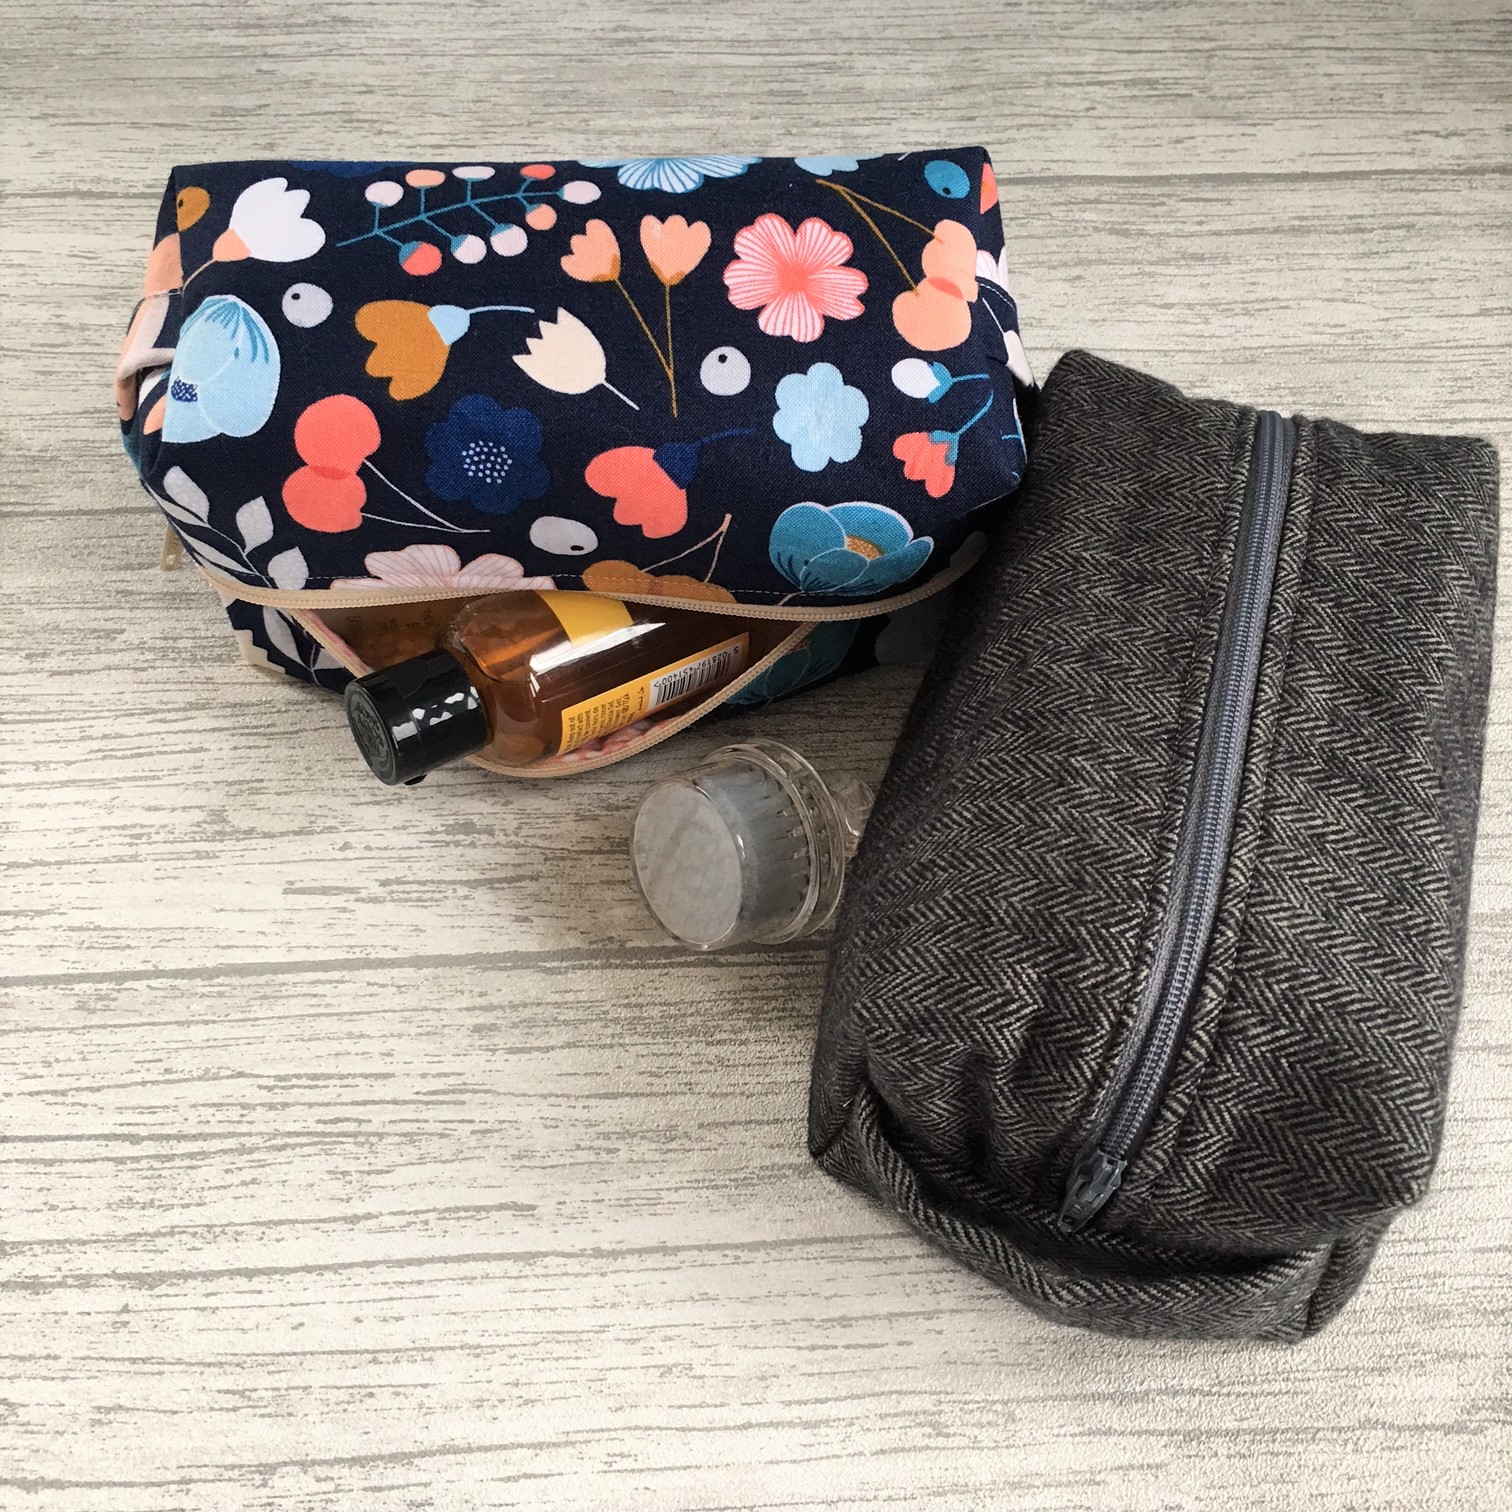
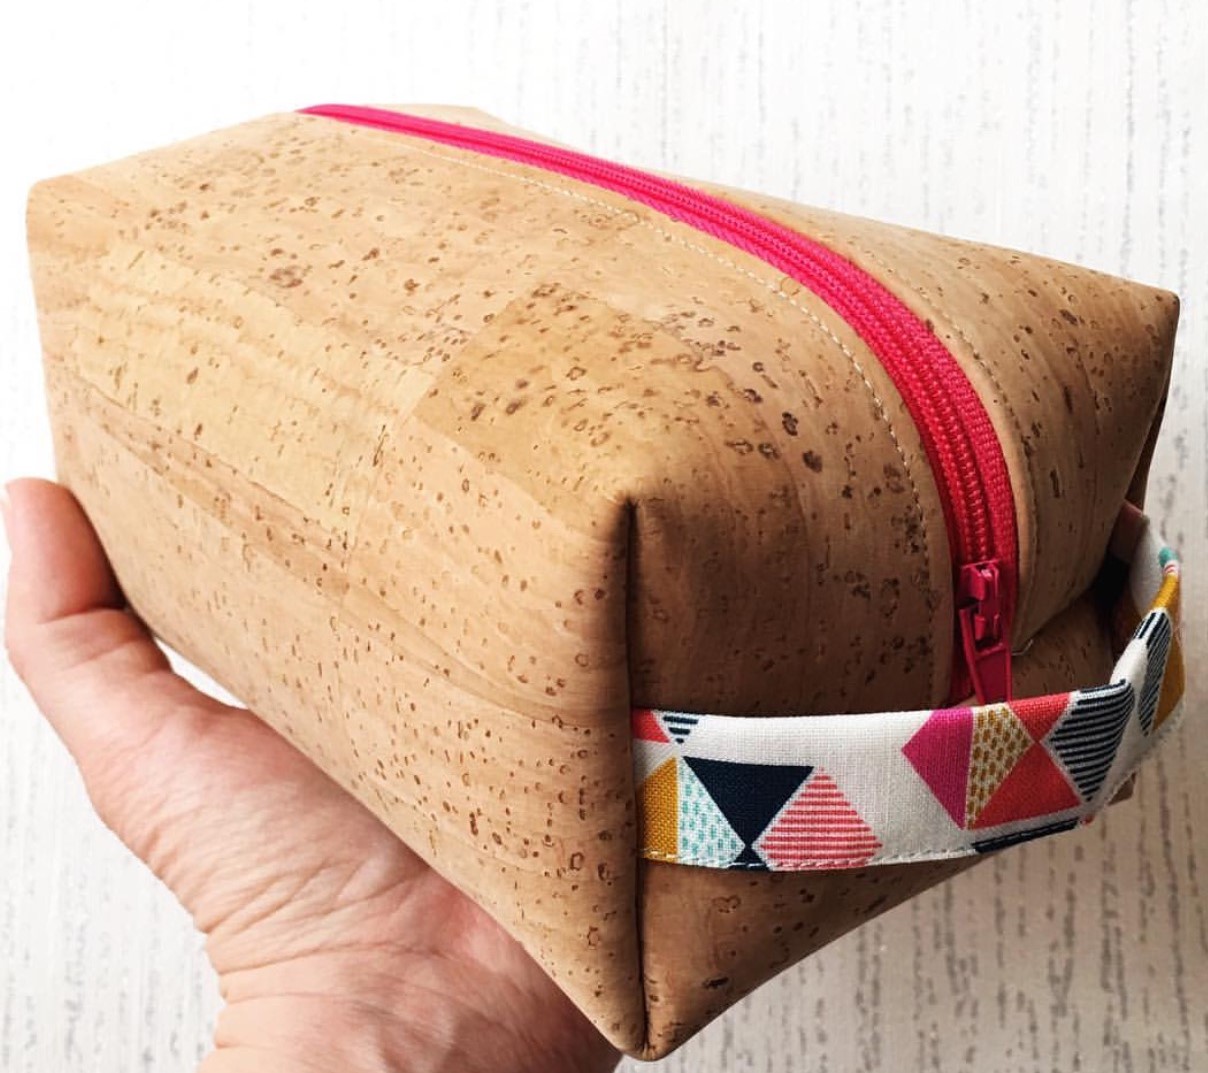
6. Turn the right way round, poke out the corners and admire your boxy pouch!
Watch out, they’re addictive to make!
Options:
- If you would like your pouch more sturdy, you can can interface the lining piece as well.
- Or you could cut the outer piece approx 1″ bigger in both directions and quilt with a layer of batting. when you have finished quilting, cut the piece down to the correct size and carry on with the tutorial as normal.
- Also, why not try it out with different fabrics? Here’s one I made using Cork fabric (Which was quite sturdy, so I skipped the interfacing.)
Boxy Pouch pattern by Lou Orth @imstudiolou #louspatterns
To keep up to date with all my latest news, patterns and discounts, sign up to my Newsletter group HERE!
